additional_sensors
Additional Sensors
TurtleBot3 can be attach to additional sensors. Examples shown here can be that how to use additional sensors such as IR, ultrasonic, switch, etc. in OpenCR of TurtleBot3.
Bumper
- Device - Touch_sensor (TS-10)
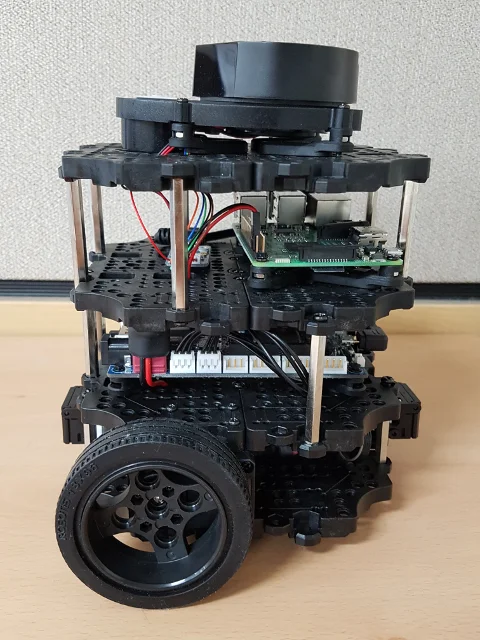
(Front side)
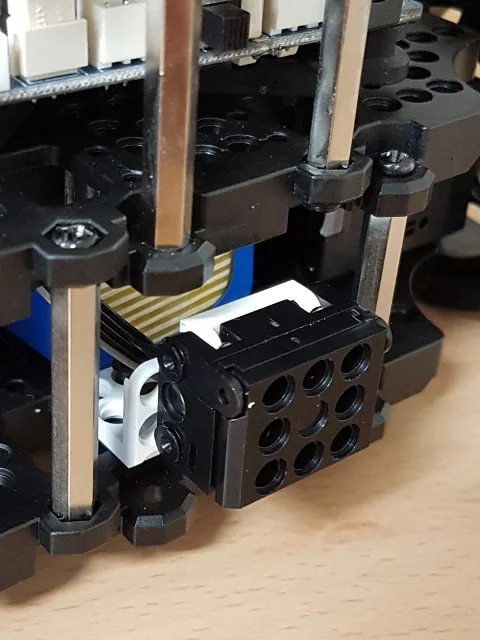
(Back side)
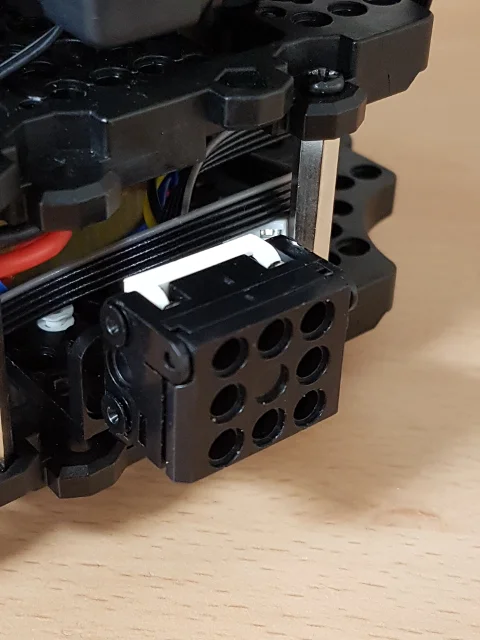
- Default PIN
| Device | PIN |
|---|---|
| Front sensor | ROBOTIS_5-PIN 3 |
| Back sensor | ROBOTIS_5-PIN 4 |
Tip : If you want to use another PIN, refer to OpenCR PIN Map.
- Run with Turtlebot3
WARNING : Make sure to run the Bringup instruction before performing Example.
[Remote PC] Launch the bumper launch file.
$ roslaunch turtlebot3_example turtlebot3_bumper.launch
- Run with Arduino IDE
This example can be open Arduino IDE.
Select to File -> Examples -> ROS -> 2. Sensors -> a_Bumper. Upload to OpenCR.
[Remote PC] Run ros serial_node package.
$ rosrun rosserial_python serial_node.py __name:=turtlebot3_core _port:=/dev/ttyACM0 _baud:=115200
WARNING : If you upload examples to OpenCR, you have to re-upload turtlebot3_core.
IR
- Device - IR_sensor (IRSS-10)
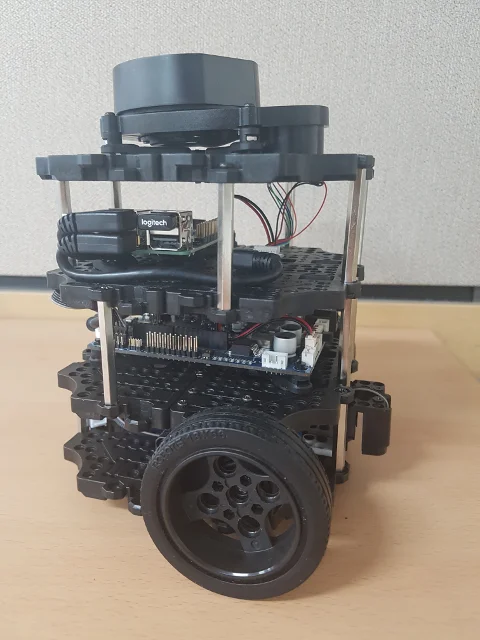
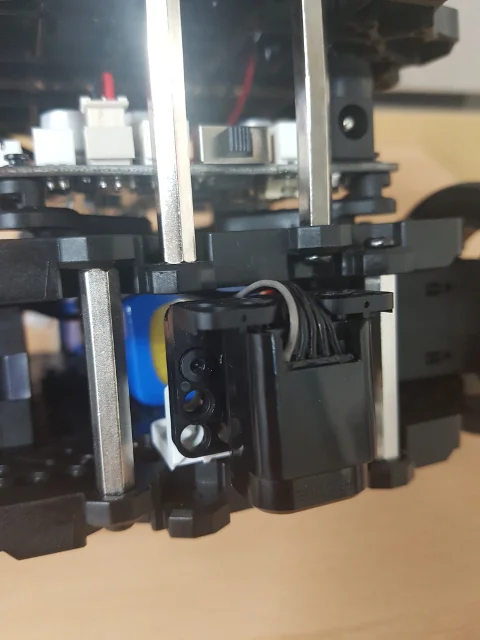
- Default PIN
| Device | PIN |
|---|---|
| IR sensor | ROBOTIS_5-PIN 2 |
Tip : If you want to use another PIN, refer to OpenCR PIN Map.
- Run with Turtlebot3
WARNING : Make sure to run the Bringup instruction before performing Example.
[Remote PC] Launch the cliff launch file.
$ roslaunch turtlebot3_example turtlebot3_cliff.launch
- Run with Arduino IDE
This example can be open Arduino IDE.
Select to File -> Examples -> ROS -> 2. Sensors -> b_Cliff. Upload to OpenCR.
[Remote PC] Run ros serial_node package.
$ rosrun rosserial_python serial_node.py __name:=turtlebot3_core _port:=/dev/ttyACM0 _baud:=115200
Ultrasonic
- Device - Ultrasonic sensor (HC-SR04)
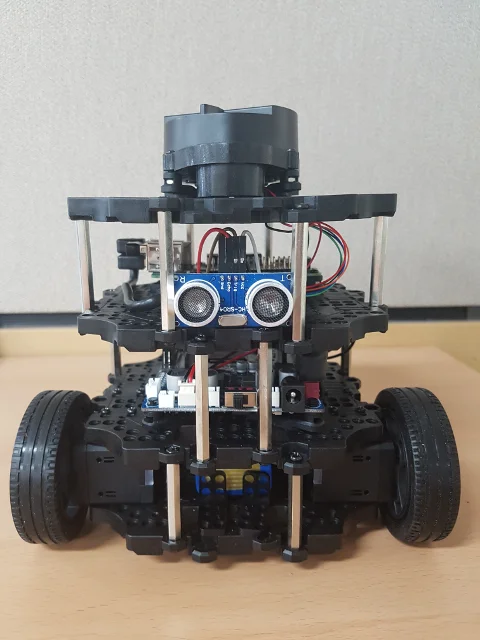
- Default PIN:
| Device | PIN |
|---|---|
| Trigger | BDPIN_GPIO_1 |
| Echo | BDPIN_GPIO_2 |
Tip : If you want to use another PIN, refer to OpenCR PIN Map.
- Run with Turtlebot3
WARNING : Make sure to run the Bringup instruction before performing Example.
[Remote PC] Launch the sonar launch file.
$ roslaunch turtlebot3_example turtlebot3_sonar.launch
- Run with Arduino IDE
This example can be open Arduino IDE.
Select to File -> Examples -> ROS -> 2. Sensors -> c_Ultrasonic. Upload to OpenCR.
[Remote PC] Run ros serial_node package.
$ rosrun rosserial_python serial_node.py __name:=turtlebot3_core _port:=/dev/ttyACM0 _baud:=115200
Illumination
- Device - LDR sensor (Flying-Fish MH-sensor)
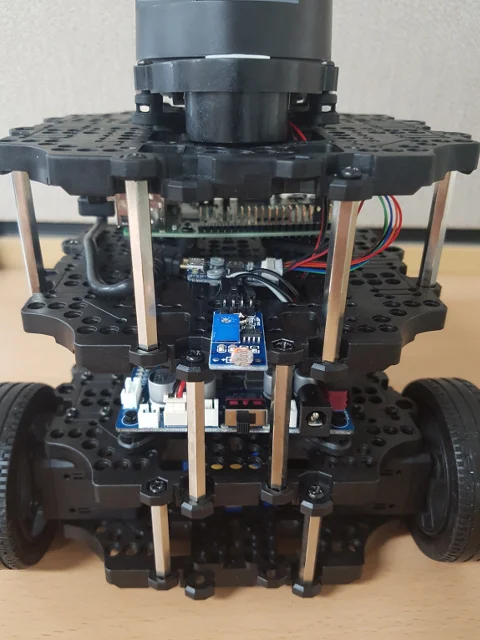
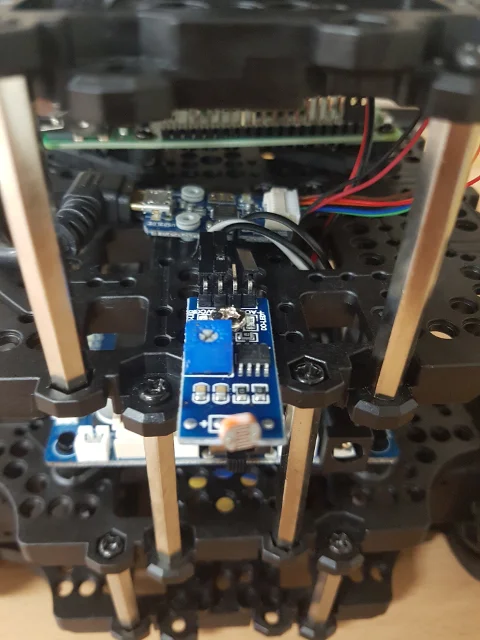
- Default PIN
| Device | PIN |
|---|---|
| Analog | A1 |
Tip : If you want to use another PIN, refer to OpenCR PIN Map.
- Run with Turtlebot3
WARNING : Make sure to run the Bringup instruction before performing Example.
[Remote PC] Launch the illumination launch file.
$ roslaunch turtlebot3_example turtlebot3_illumination.launch
- Run with Arduino IDE
This example can be open Arduino IDE.
Select to File -> Examples -> ROS -> 2. Sensors -> d_Illumination. Upload to OpenCR.
[Remote PC] Run ros serial_node package.
$ rosrun rosserial_python serial_node.py __name:=turtlebot3_core _port:=/dev/ttyACM0 _baud:=115200
LED
- Device - led (led101)
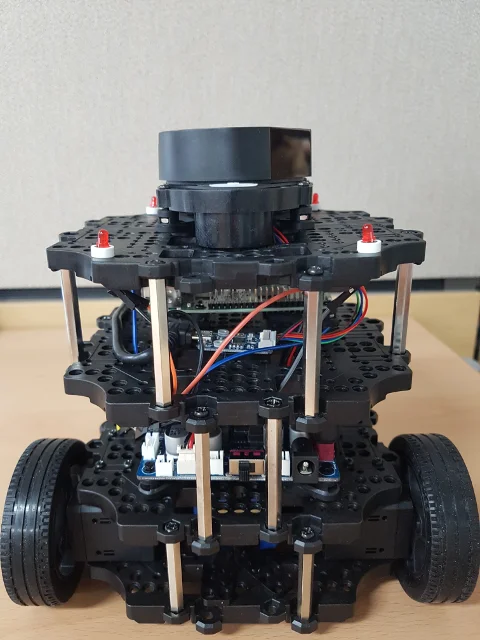
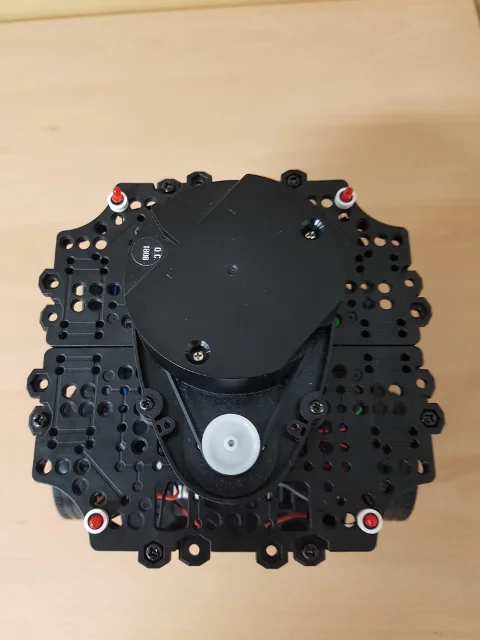
- Default PIN
| Device | PIN |
|---|---|
| Front_left | BDPIN_GPIO_4 |
| Front_right | BDPIN_GPIO_6 |
| Back_left | BDPIN_GPIO_8 |
| Back_right | BDPIN_GPIO_10 |
Tip : If you want to use another PIN, refer to OpenCR PIN Map.
- Run
This example is allways active when connected led. the leds show a specific pattern depend on the linear and angular velocity of Turtlebot3.