OMX / ASSEMBLY GUIDE
Build with a clear view.
Choose your arm, check the actuator setup, and follow each connection in 3D.
01 / Check actuator IDs
Actuator IDs are preset before shipping. Match each actuator to the ID shown for its joint; no initial ID setup is needed.
| Joint | Actuator | ID |
|---|---|---|
| 1 | XL330-M288 | 1 |
| 2 | XL330-M288 | 2 |
| 3 | XL330-M288 | 3 |
| 4 | XL330-M288 | 4 |
| 5 | XL330-M288 | 5 |
| 6 | XL330-M077 | 6 |
02 / Check the reference posture
Set all joints to the initial position (180°). Align the horn reference marks before fitting the frames.
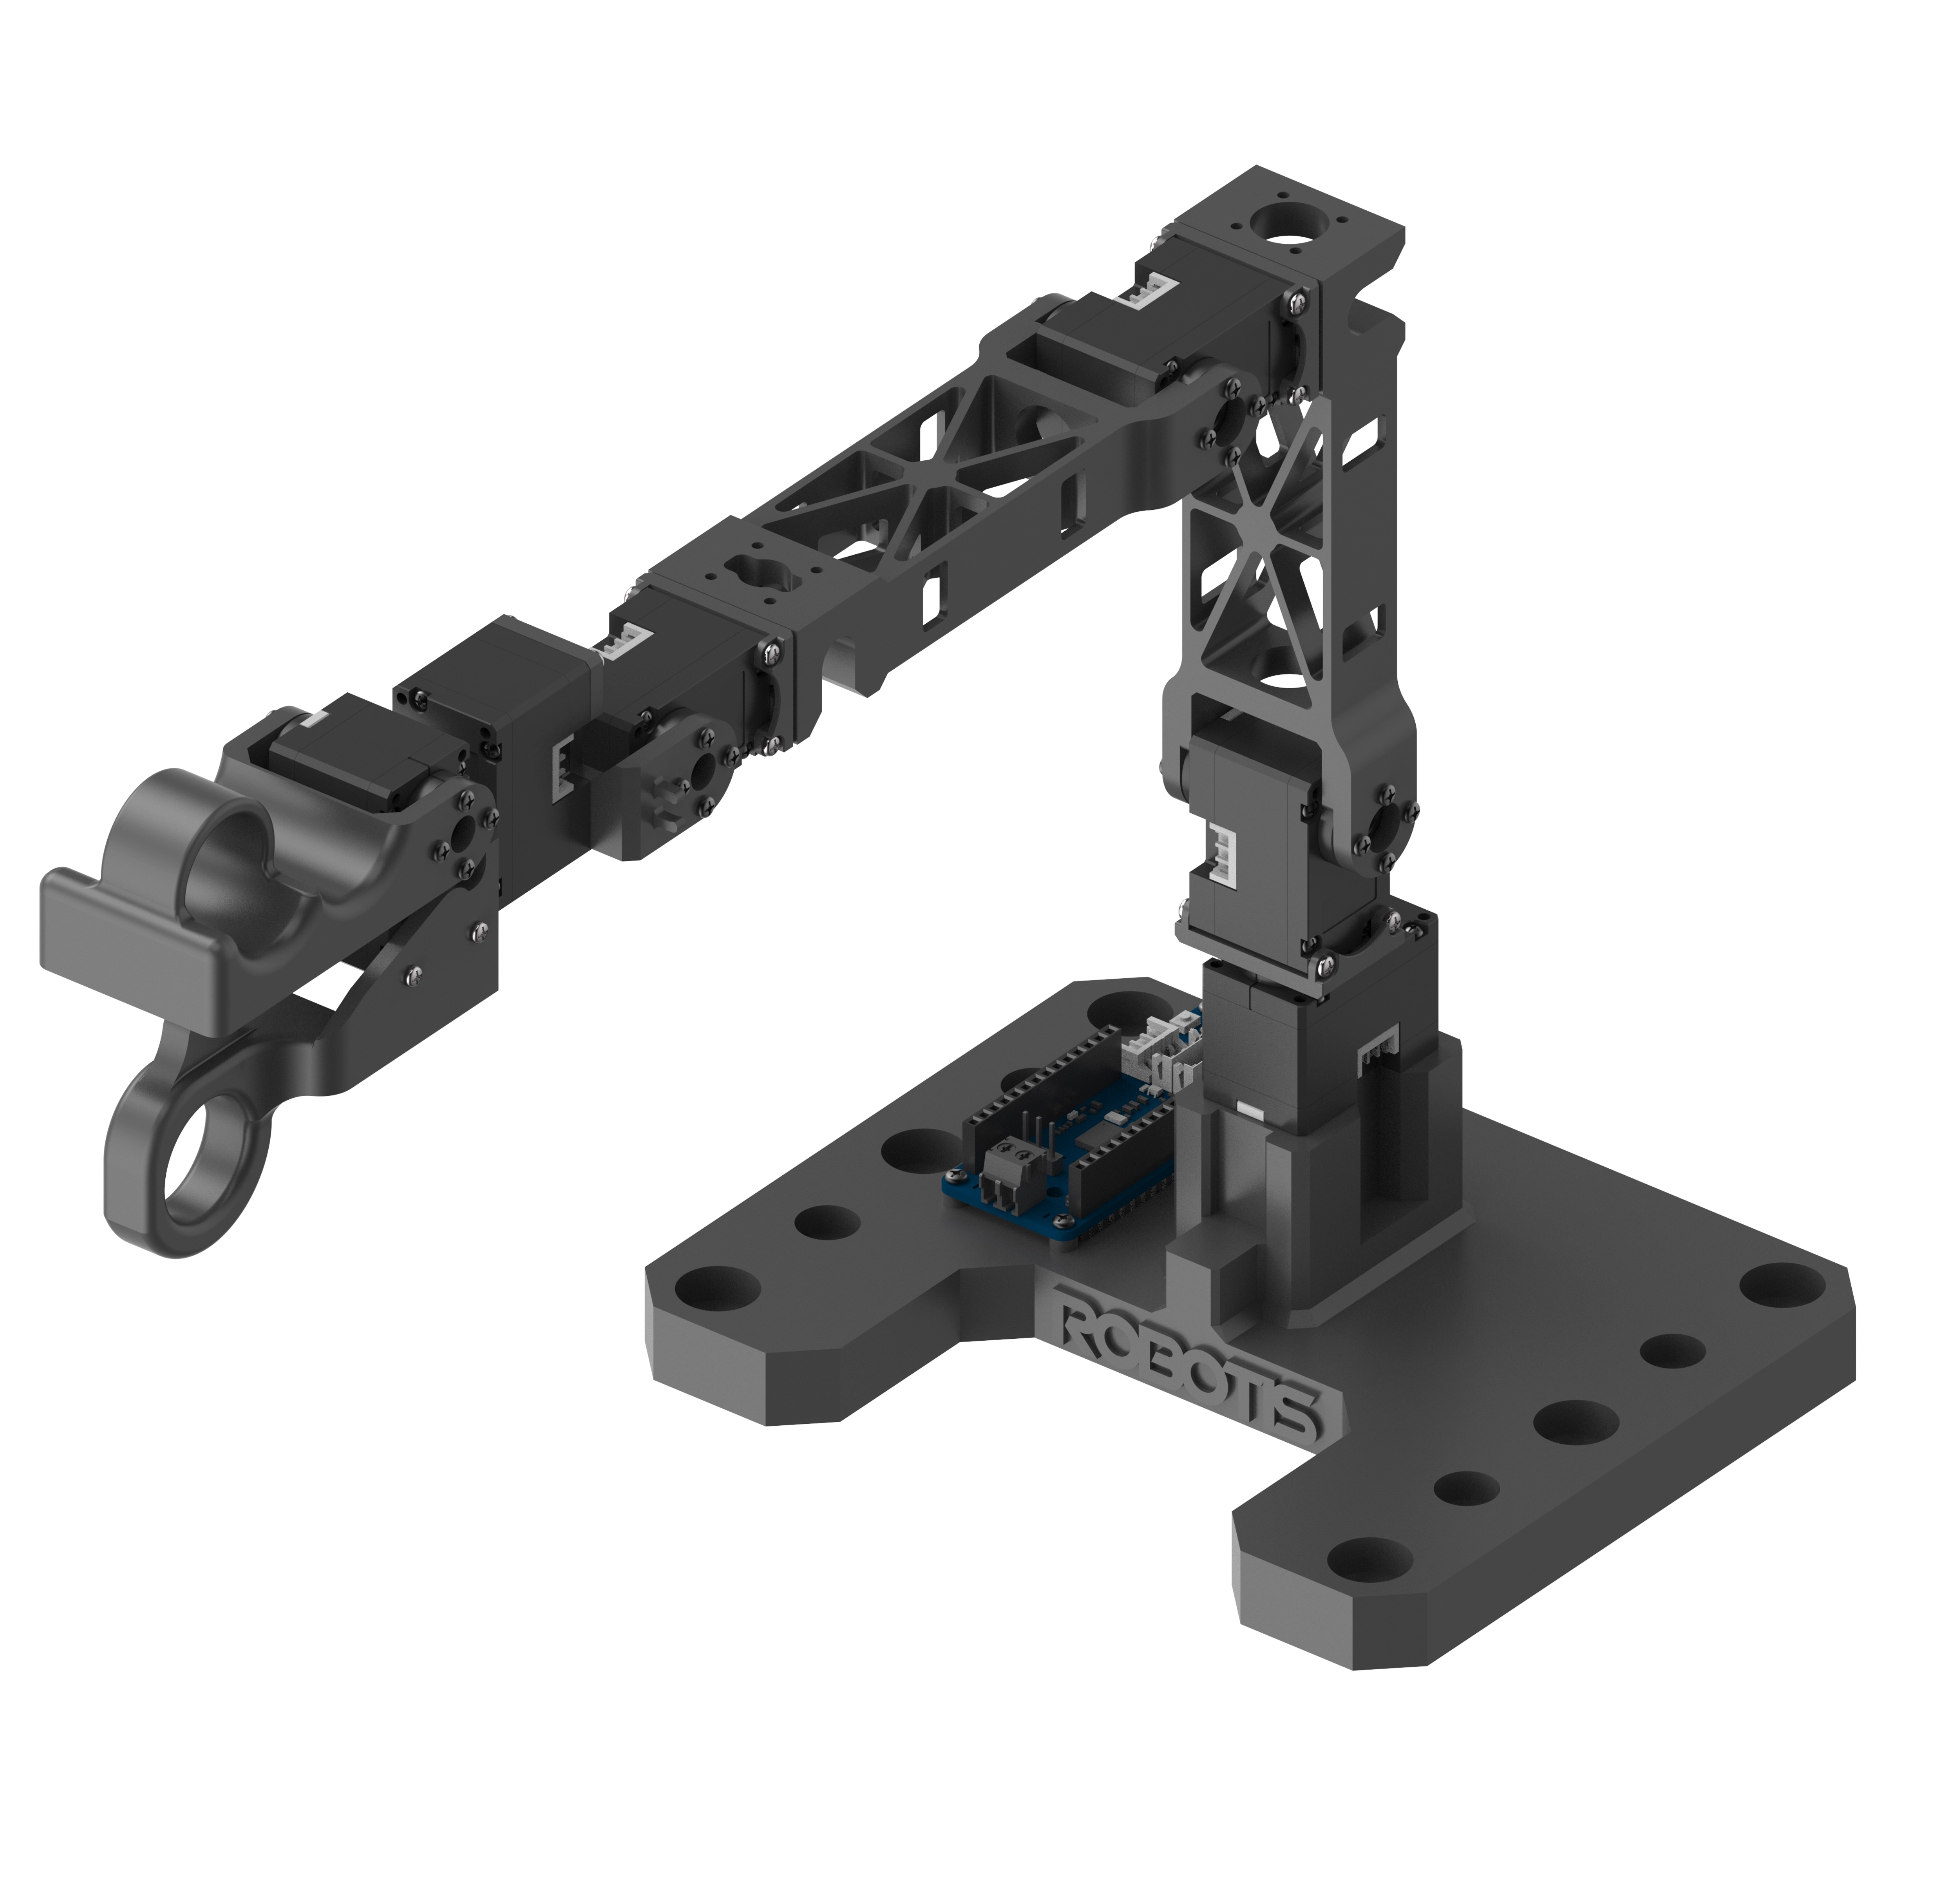
Horn orientation, camera and finishing
Horn orientation
Align the single horn mark with the housing mark. The paired marks face the opposite side.
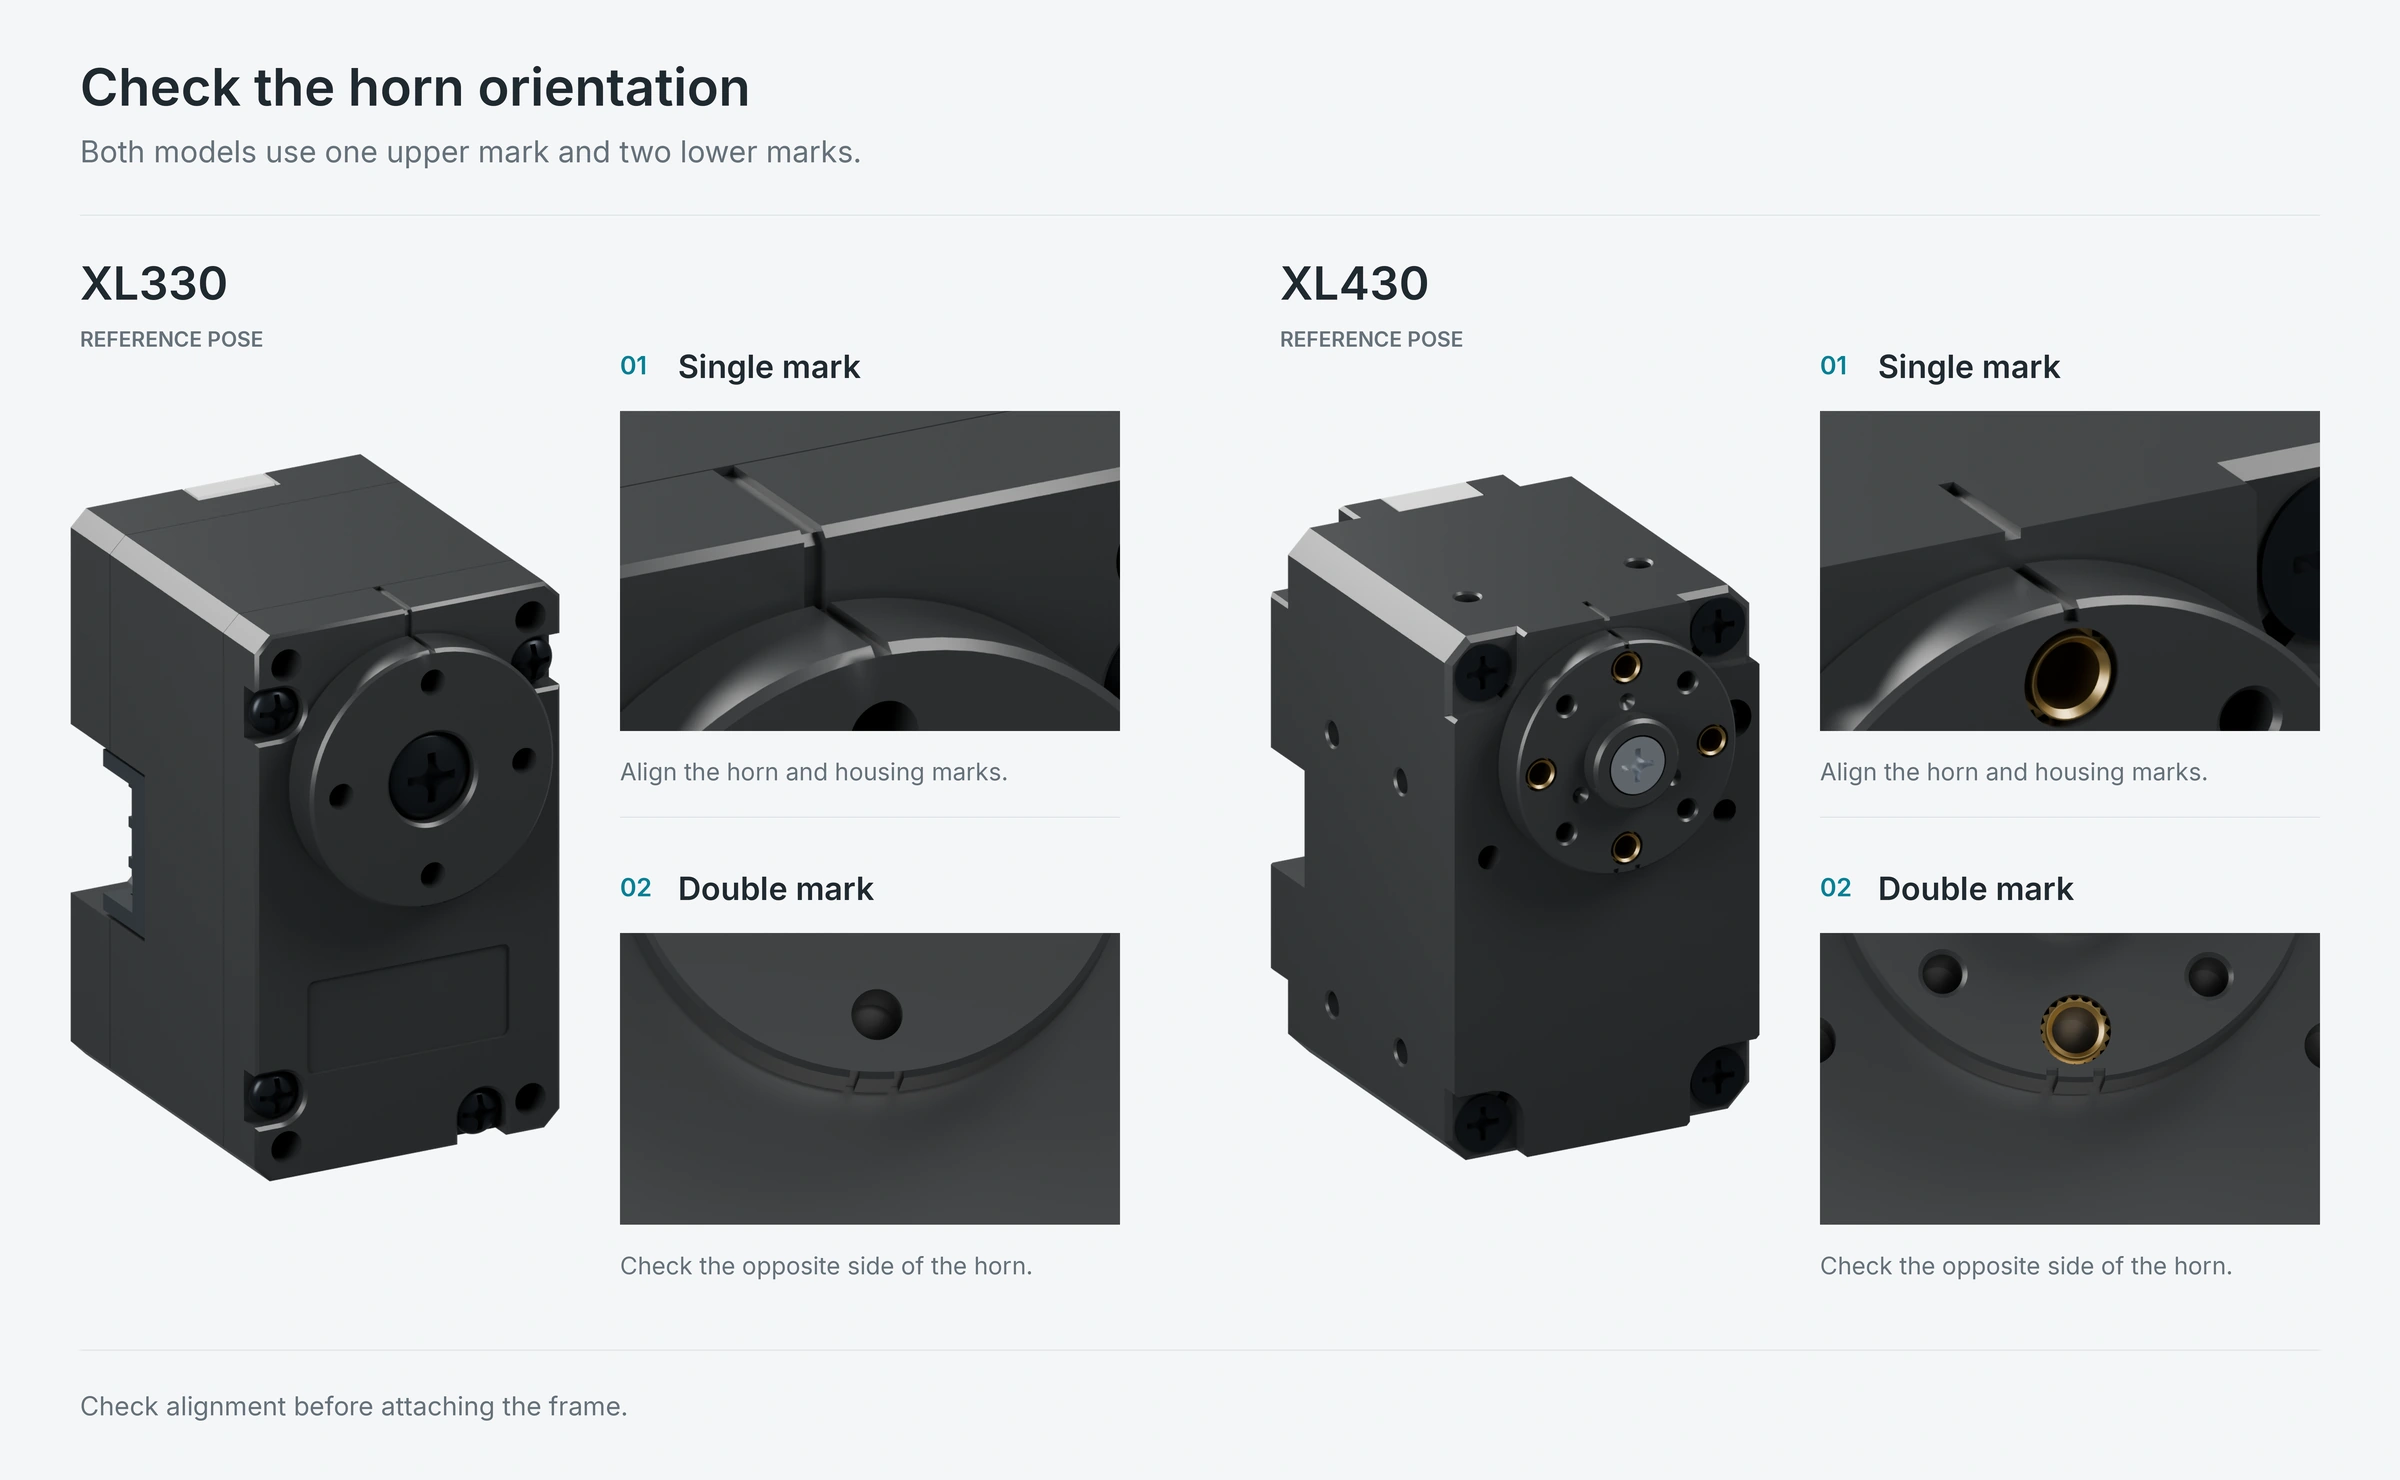 View full-size alignment guide ↗
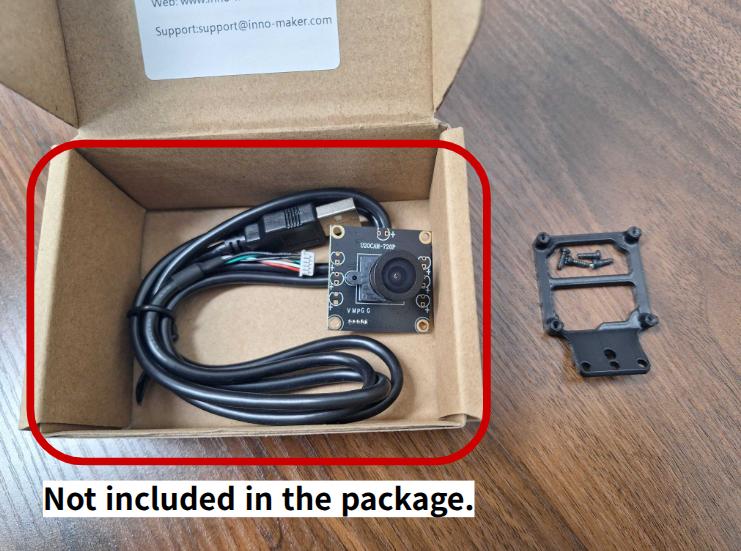
Camera & grip surfaces
The camera is sold separately; its frame and mounting bolts are included. See the external vendor link on the ROBOTIS eShop product page.
Apply anti-slip tape to the gripper contact surfaces.
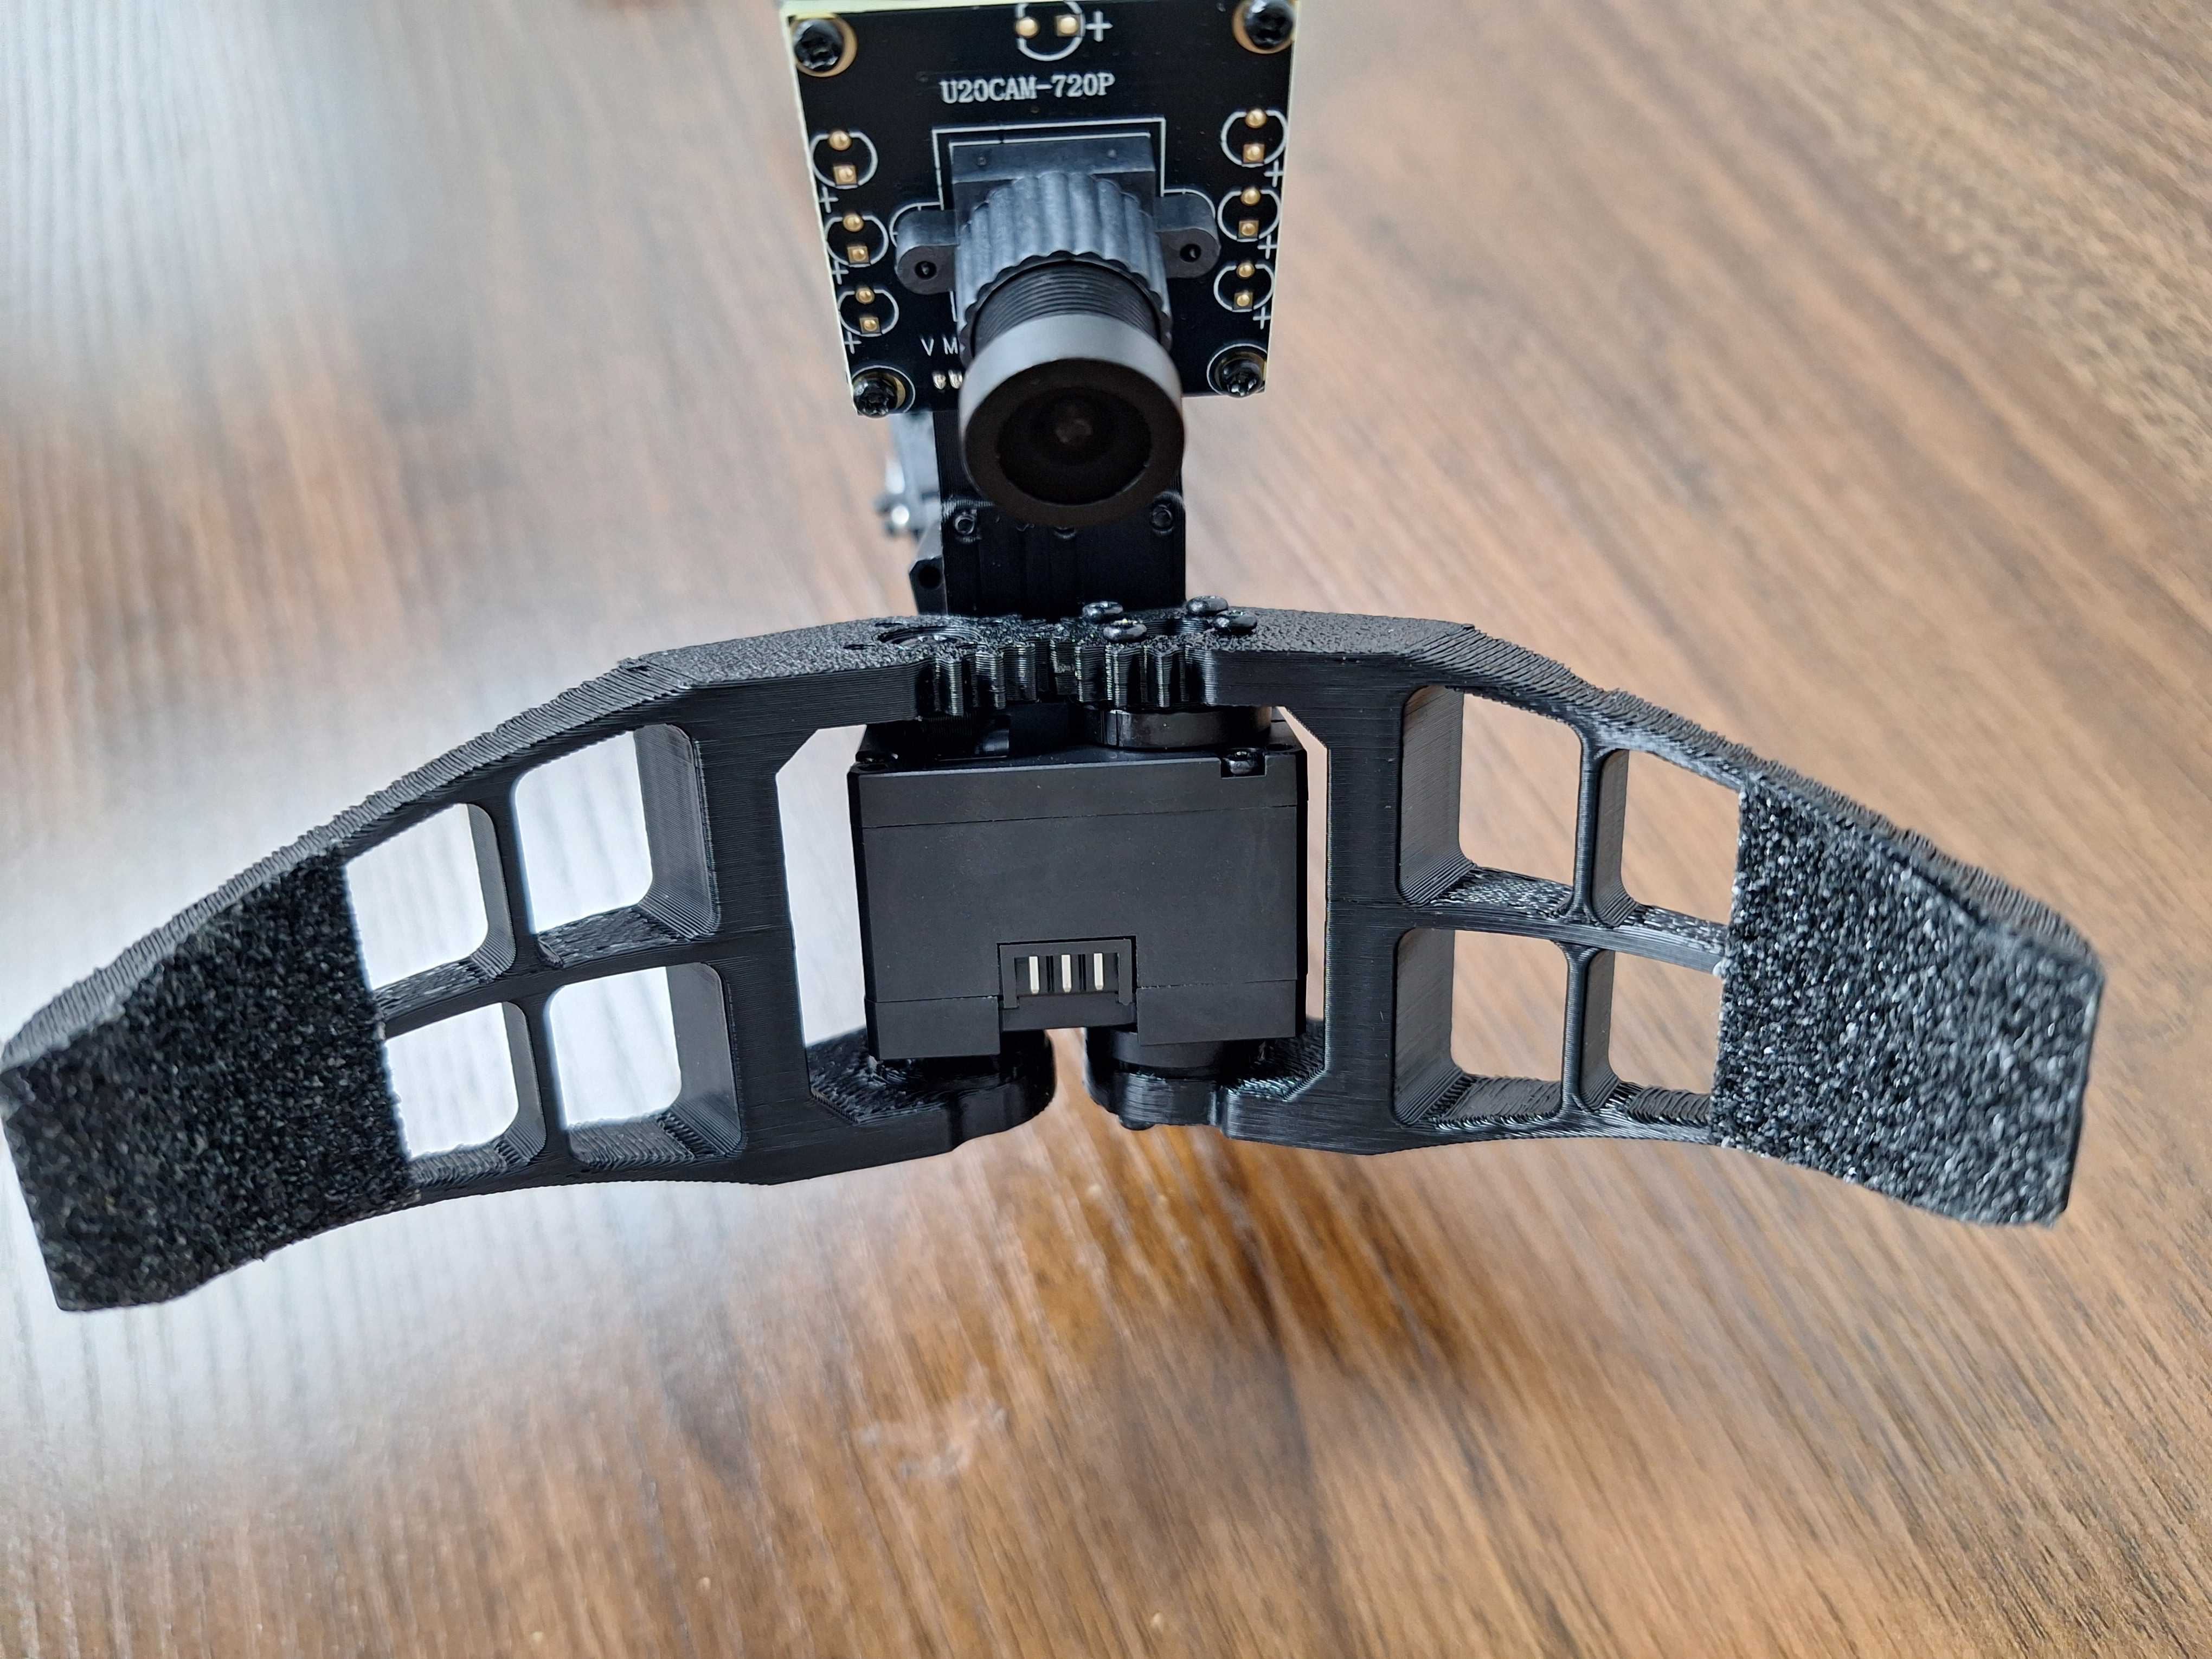
Disconnect power before connecting cables. Rotate, zoom and inspect each connection as you assemble.